
Custom Company Branding
When candidates open your interview, the first thing they see should feel like your company. WedgeHR lets you add your logo, customize messages, and adjust the look and feel of the entire candidate experience from one place.
All plans include core branding options. Pro and Enterprise plans unlock enhanced branding with full color, font, and domain control.
Where to find branding settings
- Go to Settings > Branding.
- Select the brand you want to edit. (If you only have one brand, you'll land on it automatically.)
Everything on this page controls what candidates see when they open your interview.
Core branding (all plans)
These options are available on every WedgeHR plan.
Upload your logo
Your logo appears in the top-left corner of every screen candidates see during the interview.
- Go to Settings > Branding > Design.
- Click the logo area to upload your image.
- Click Save Changes.
Use a horizontal logo on a transparent background for the best results. PNG works best.
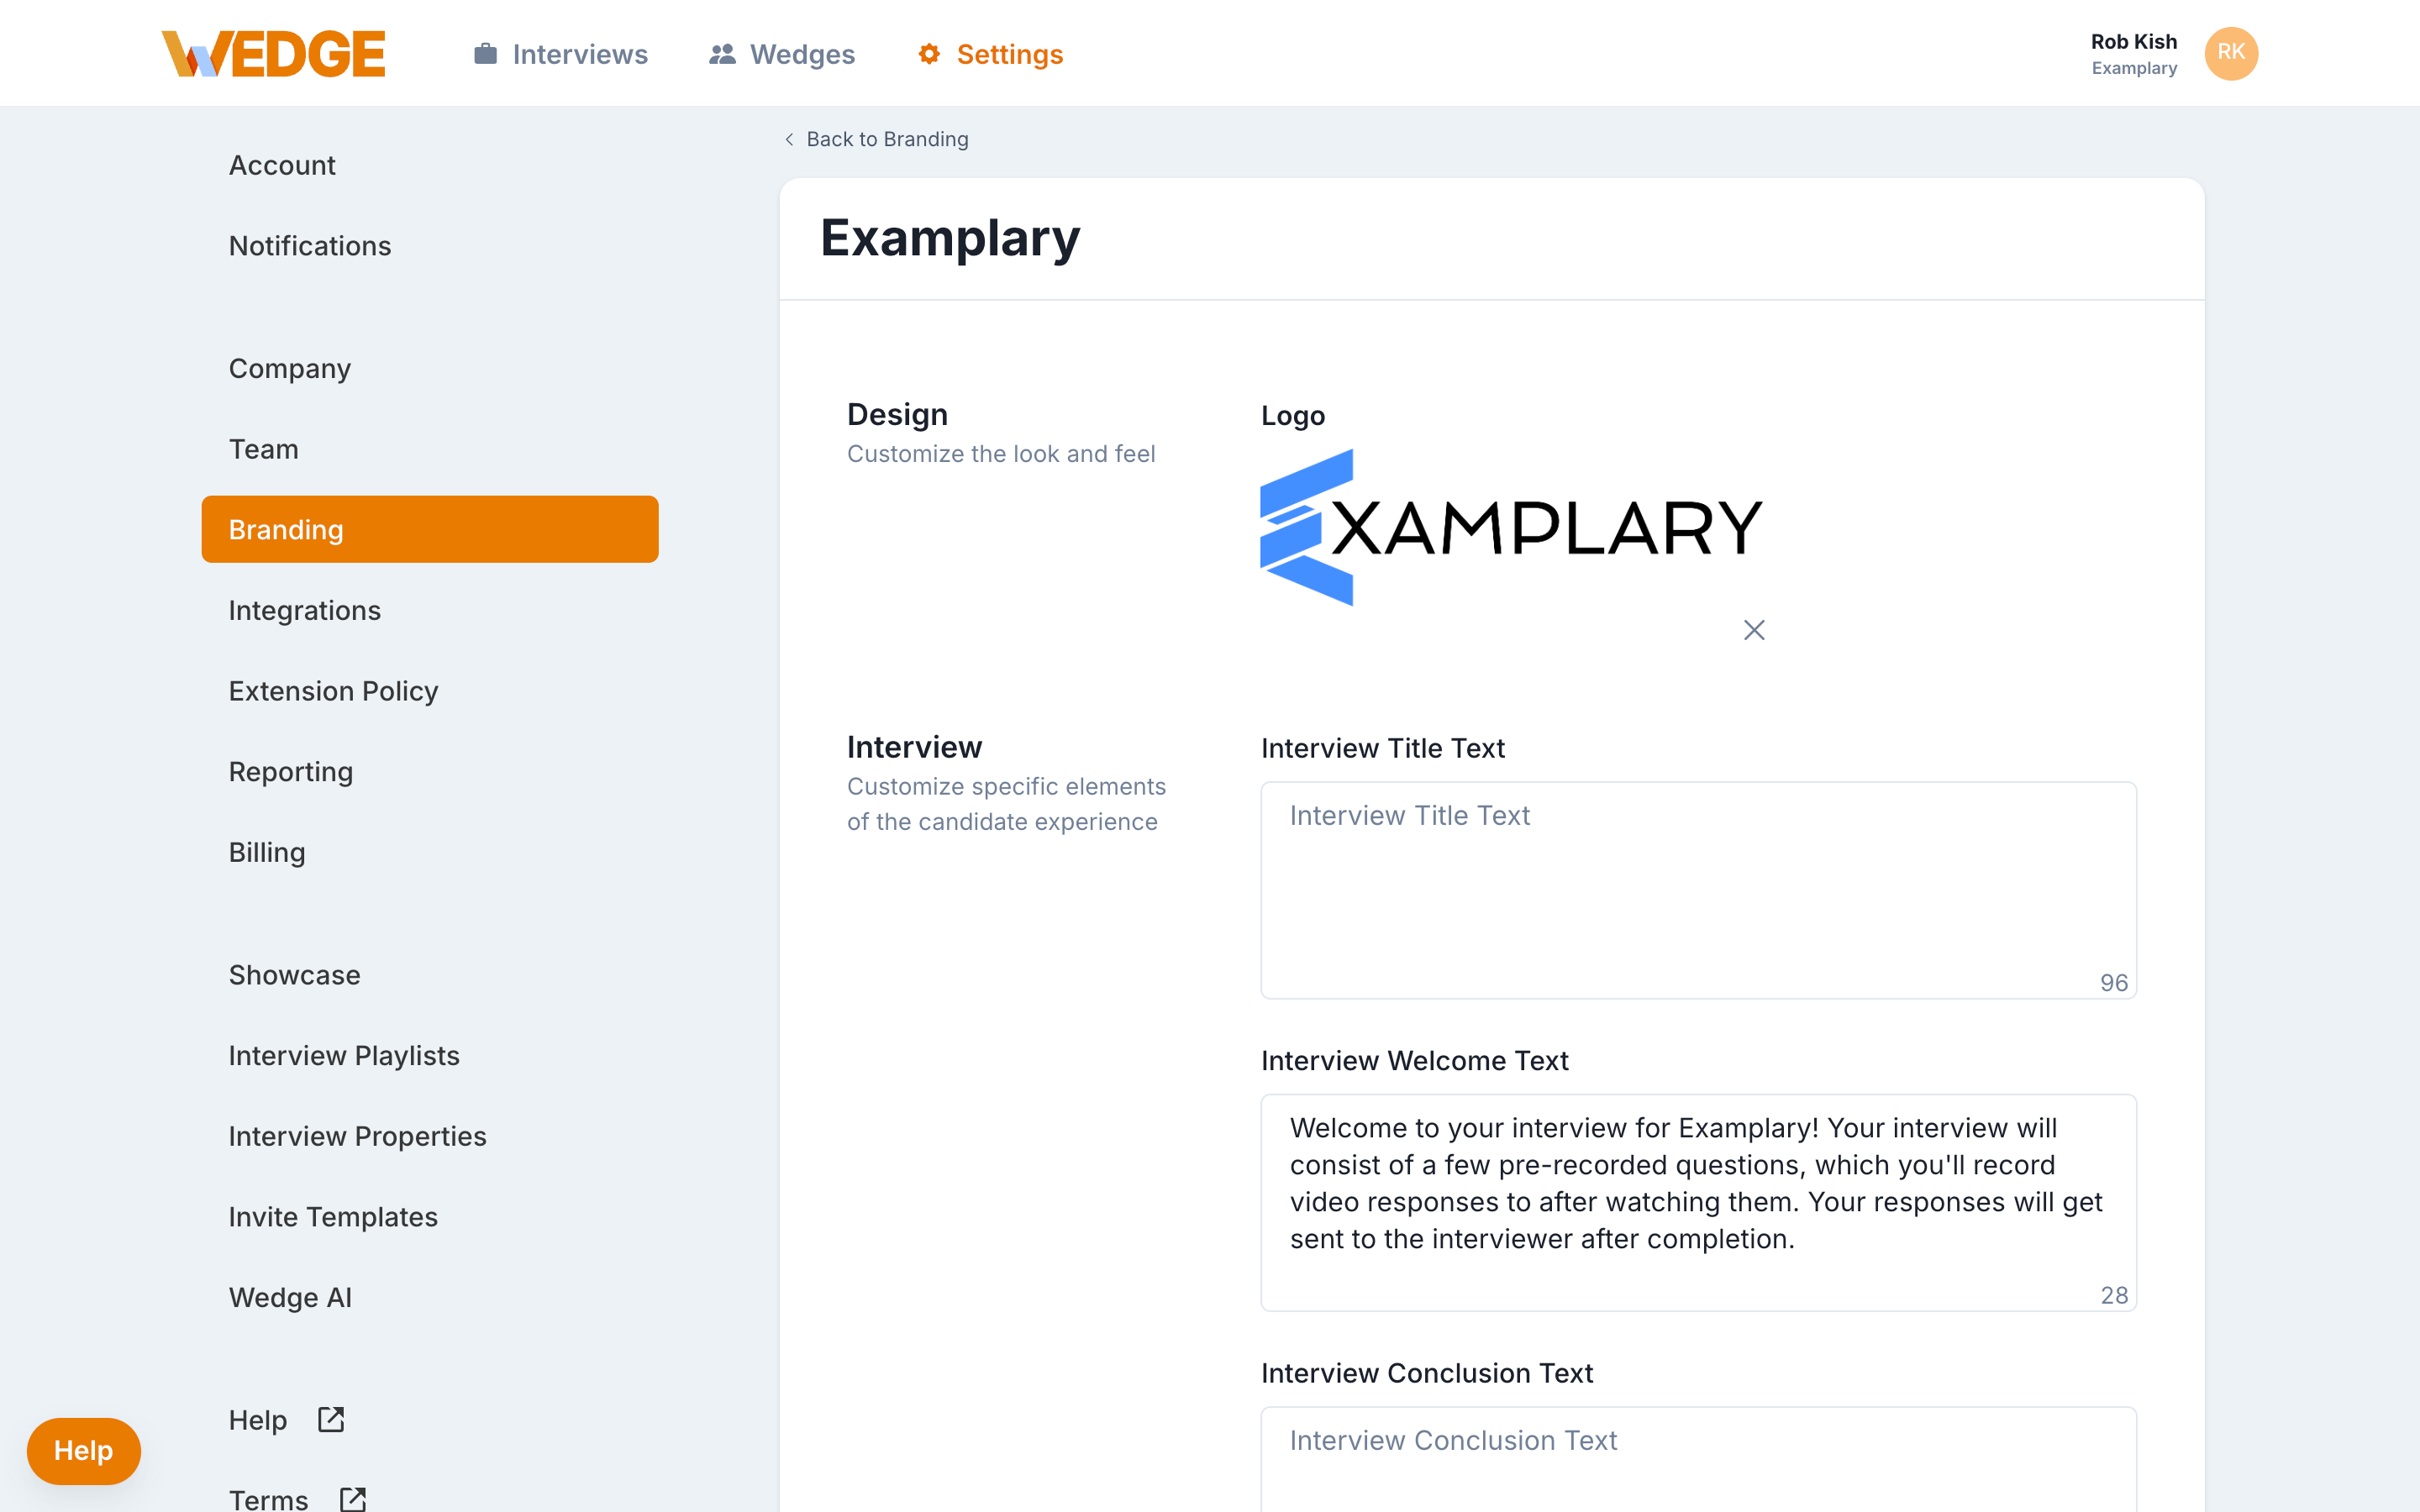
Set your interview messages
You can customize the text that greets candidates at the start and end of their interview. These messages appear on every interview tied to this brand that does not include an Intro or Outro video. If using an Intro/Outro video, the videos will take the priority on the page over the text, the text will not show up.
Interview Title Text is a short headline candidates see at the top of the welcome screen. Keep it simple. Something like "Welcome to your interview" or "Thanks for applying" works well.
Interview Welcome Text appears on the first screen after a candidate clicks their invite link. This is a good place to set expectations. Let them know the interview will include a few pre-recorded questions and that they will record short video responses. Keep it to 2 or 3 sentences so it reads well on both mobile and desktop.
Interview Conclusion Text appears on the final screen after the candidate submits their interview. A brief thank-you or note about next steps works well here. (255 character limit.)
To update any of these:
- Go to Settings > Branding.
- Type your message in the relevant text field.
- Click Save Changes.
Tip: These messages show on every interview linked to this brand. If you want different messages for different roles, consider setting up multiple brands.
Enhanced branding (Pro and Enterprise)
Enhanced branding gives you full control over the visual experience candidates see. This is where you can white-label the interview so it looks and feels entirely like your company.
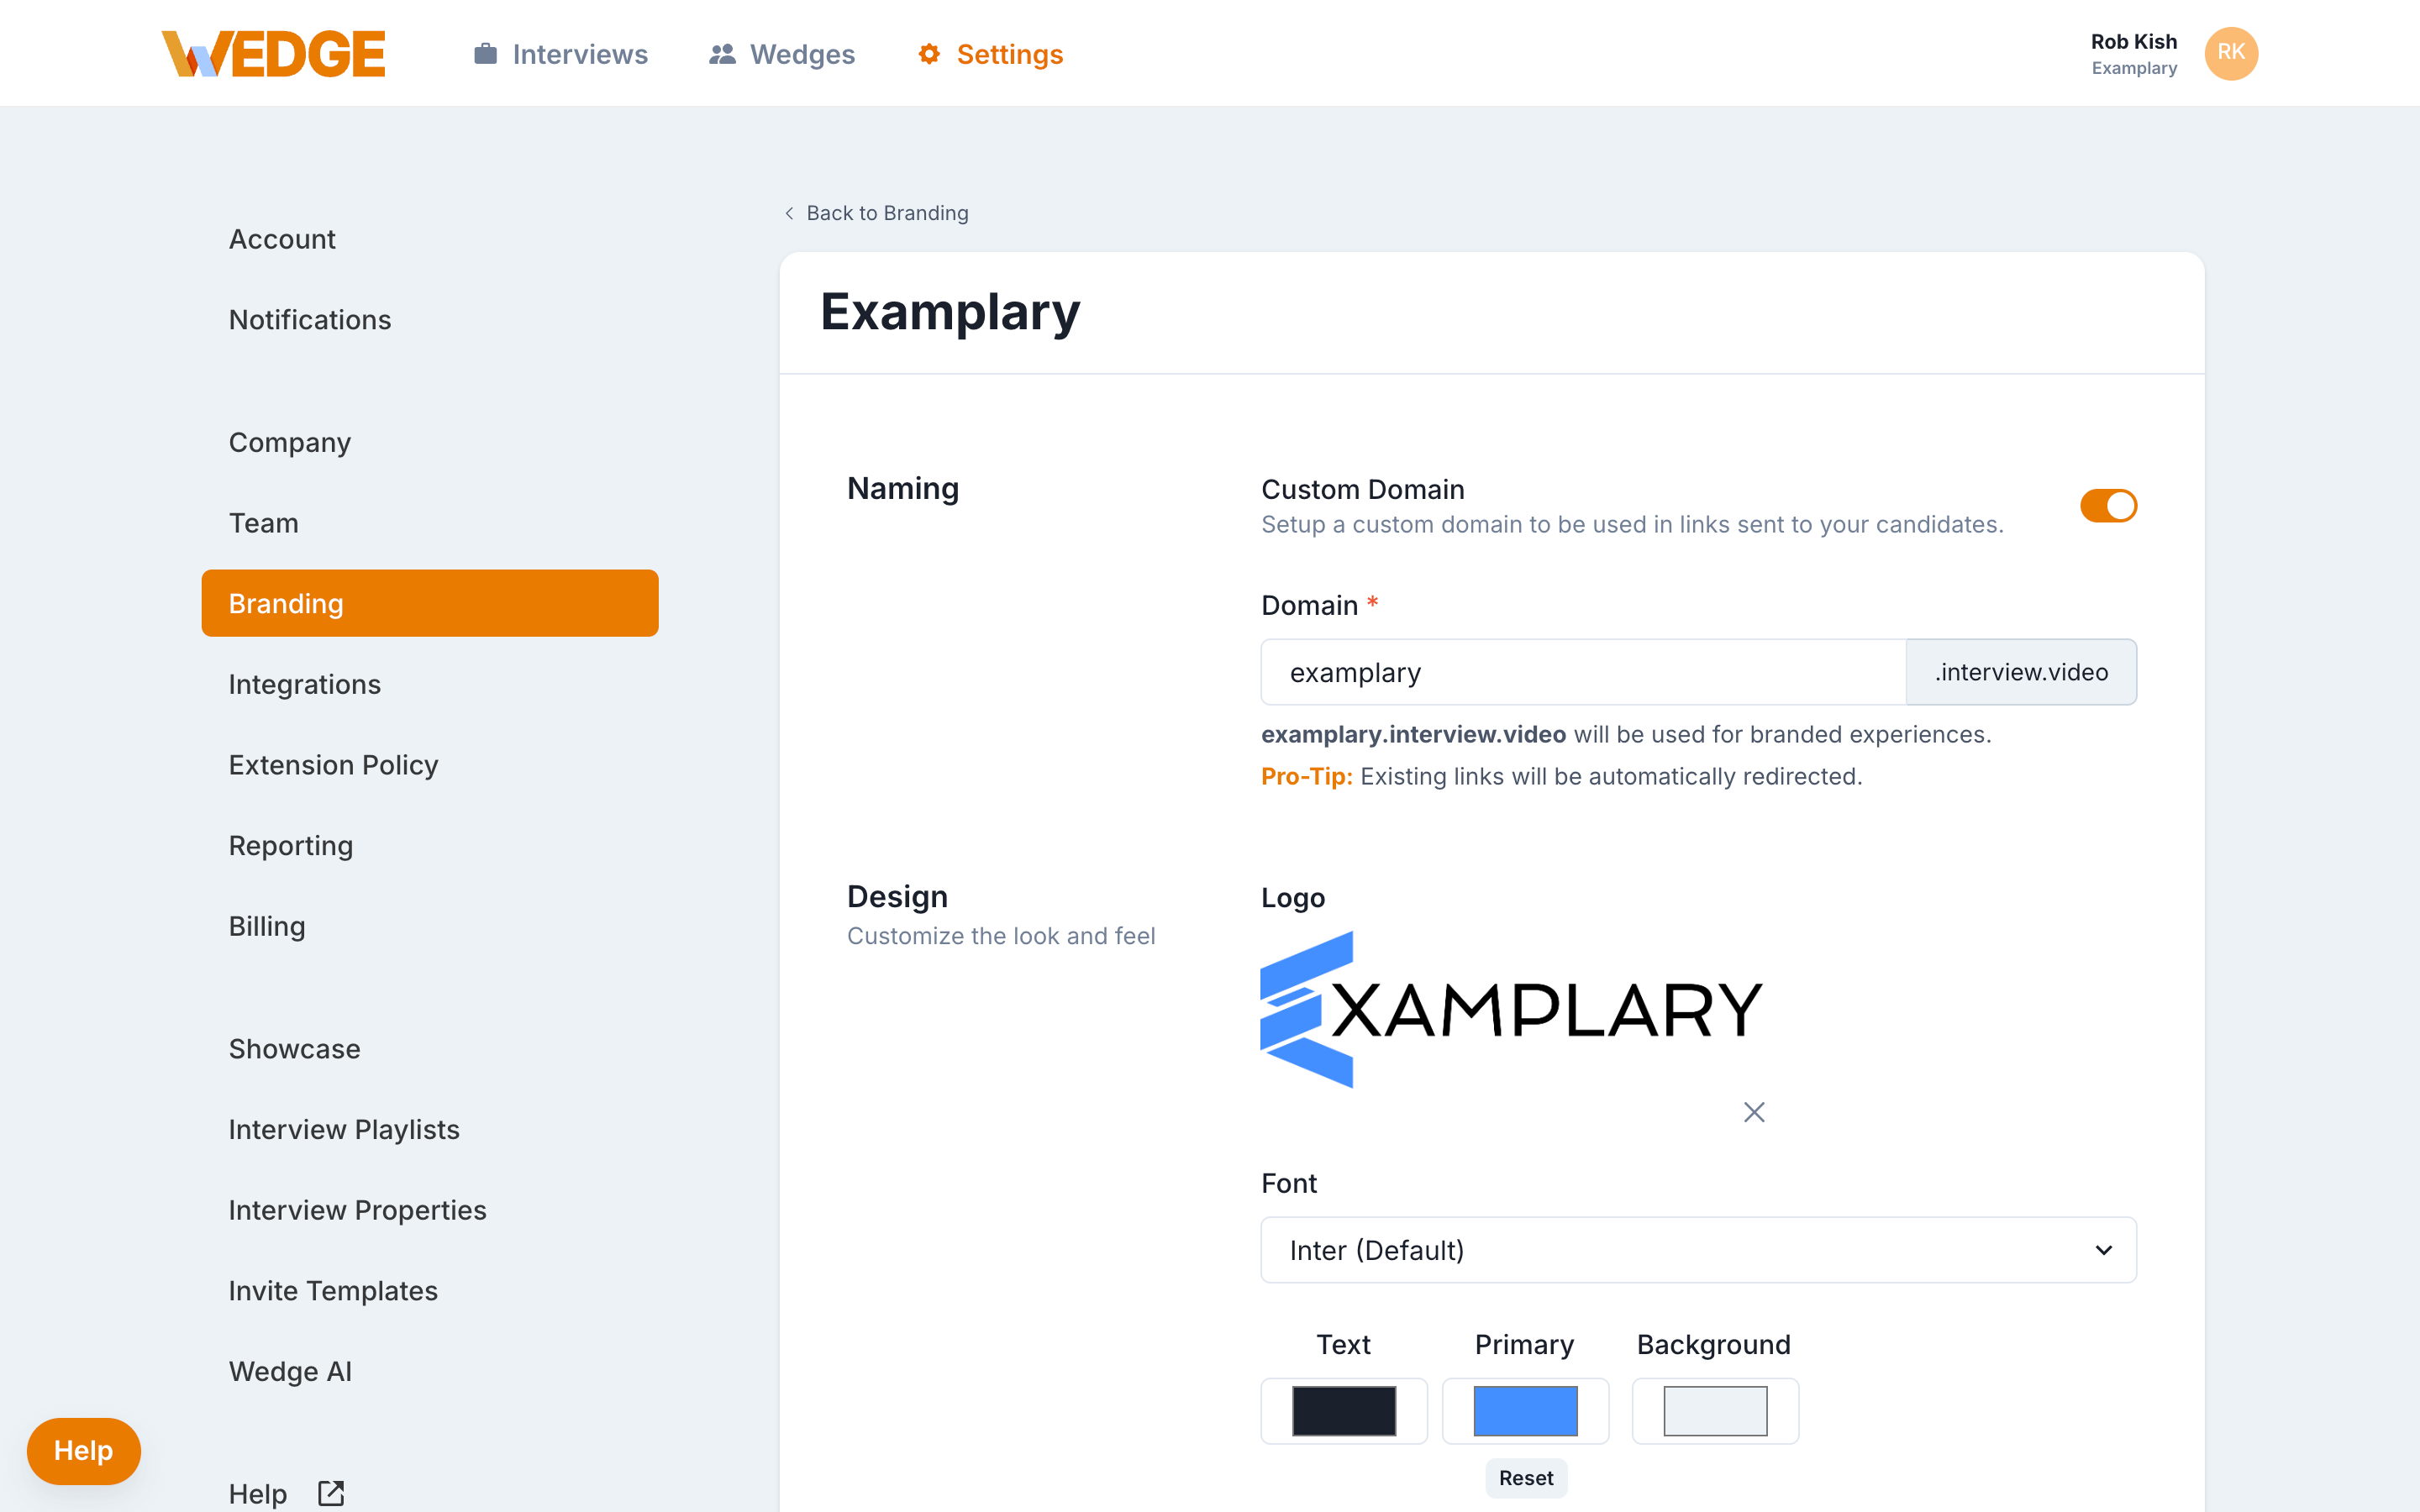
Customize your colors and font
- Go to Settings > Branding > Design.
- Upload or update your Logo.
- Choose a Font from the dropdown. You can use any Google Font or one of the presets. The default is Inter.
- Set your Text, Primary, and Background colors using the color pickers.
- Click Save Changes.
Your primary color will apply to buttons and key interface elements. Text and background colors control the overall look of the candidate screens.
After saving, try a quick test interview to preview the full experience on desktop and mobile.
Remove WedgeHR branding
If you want a fully white-labeled experience, you can hide WedgeHR logos from the candidate interface.
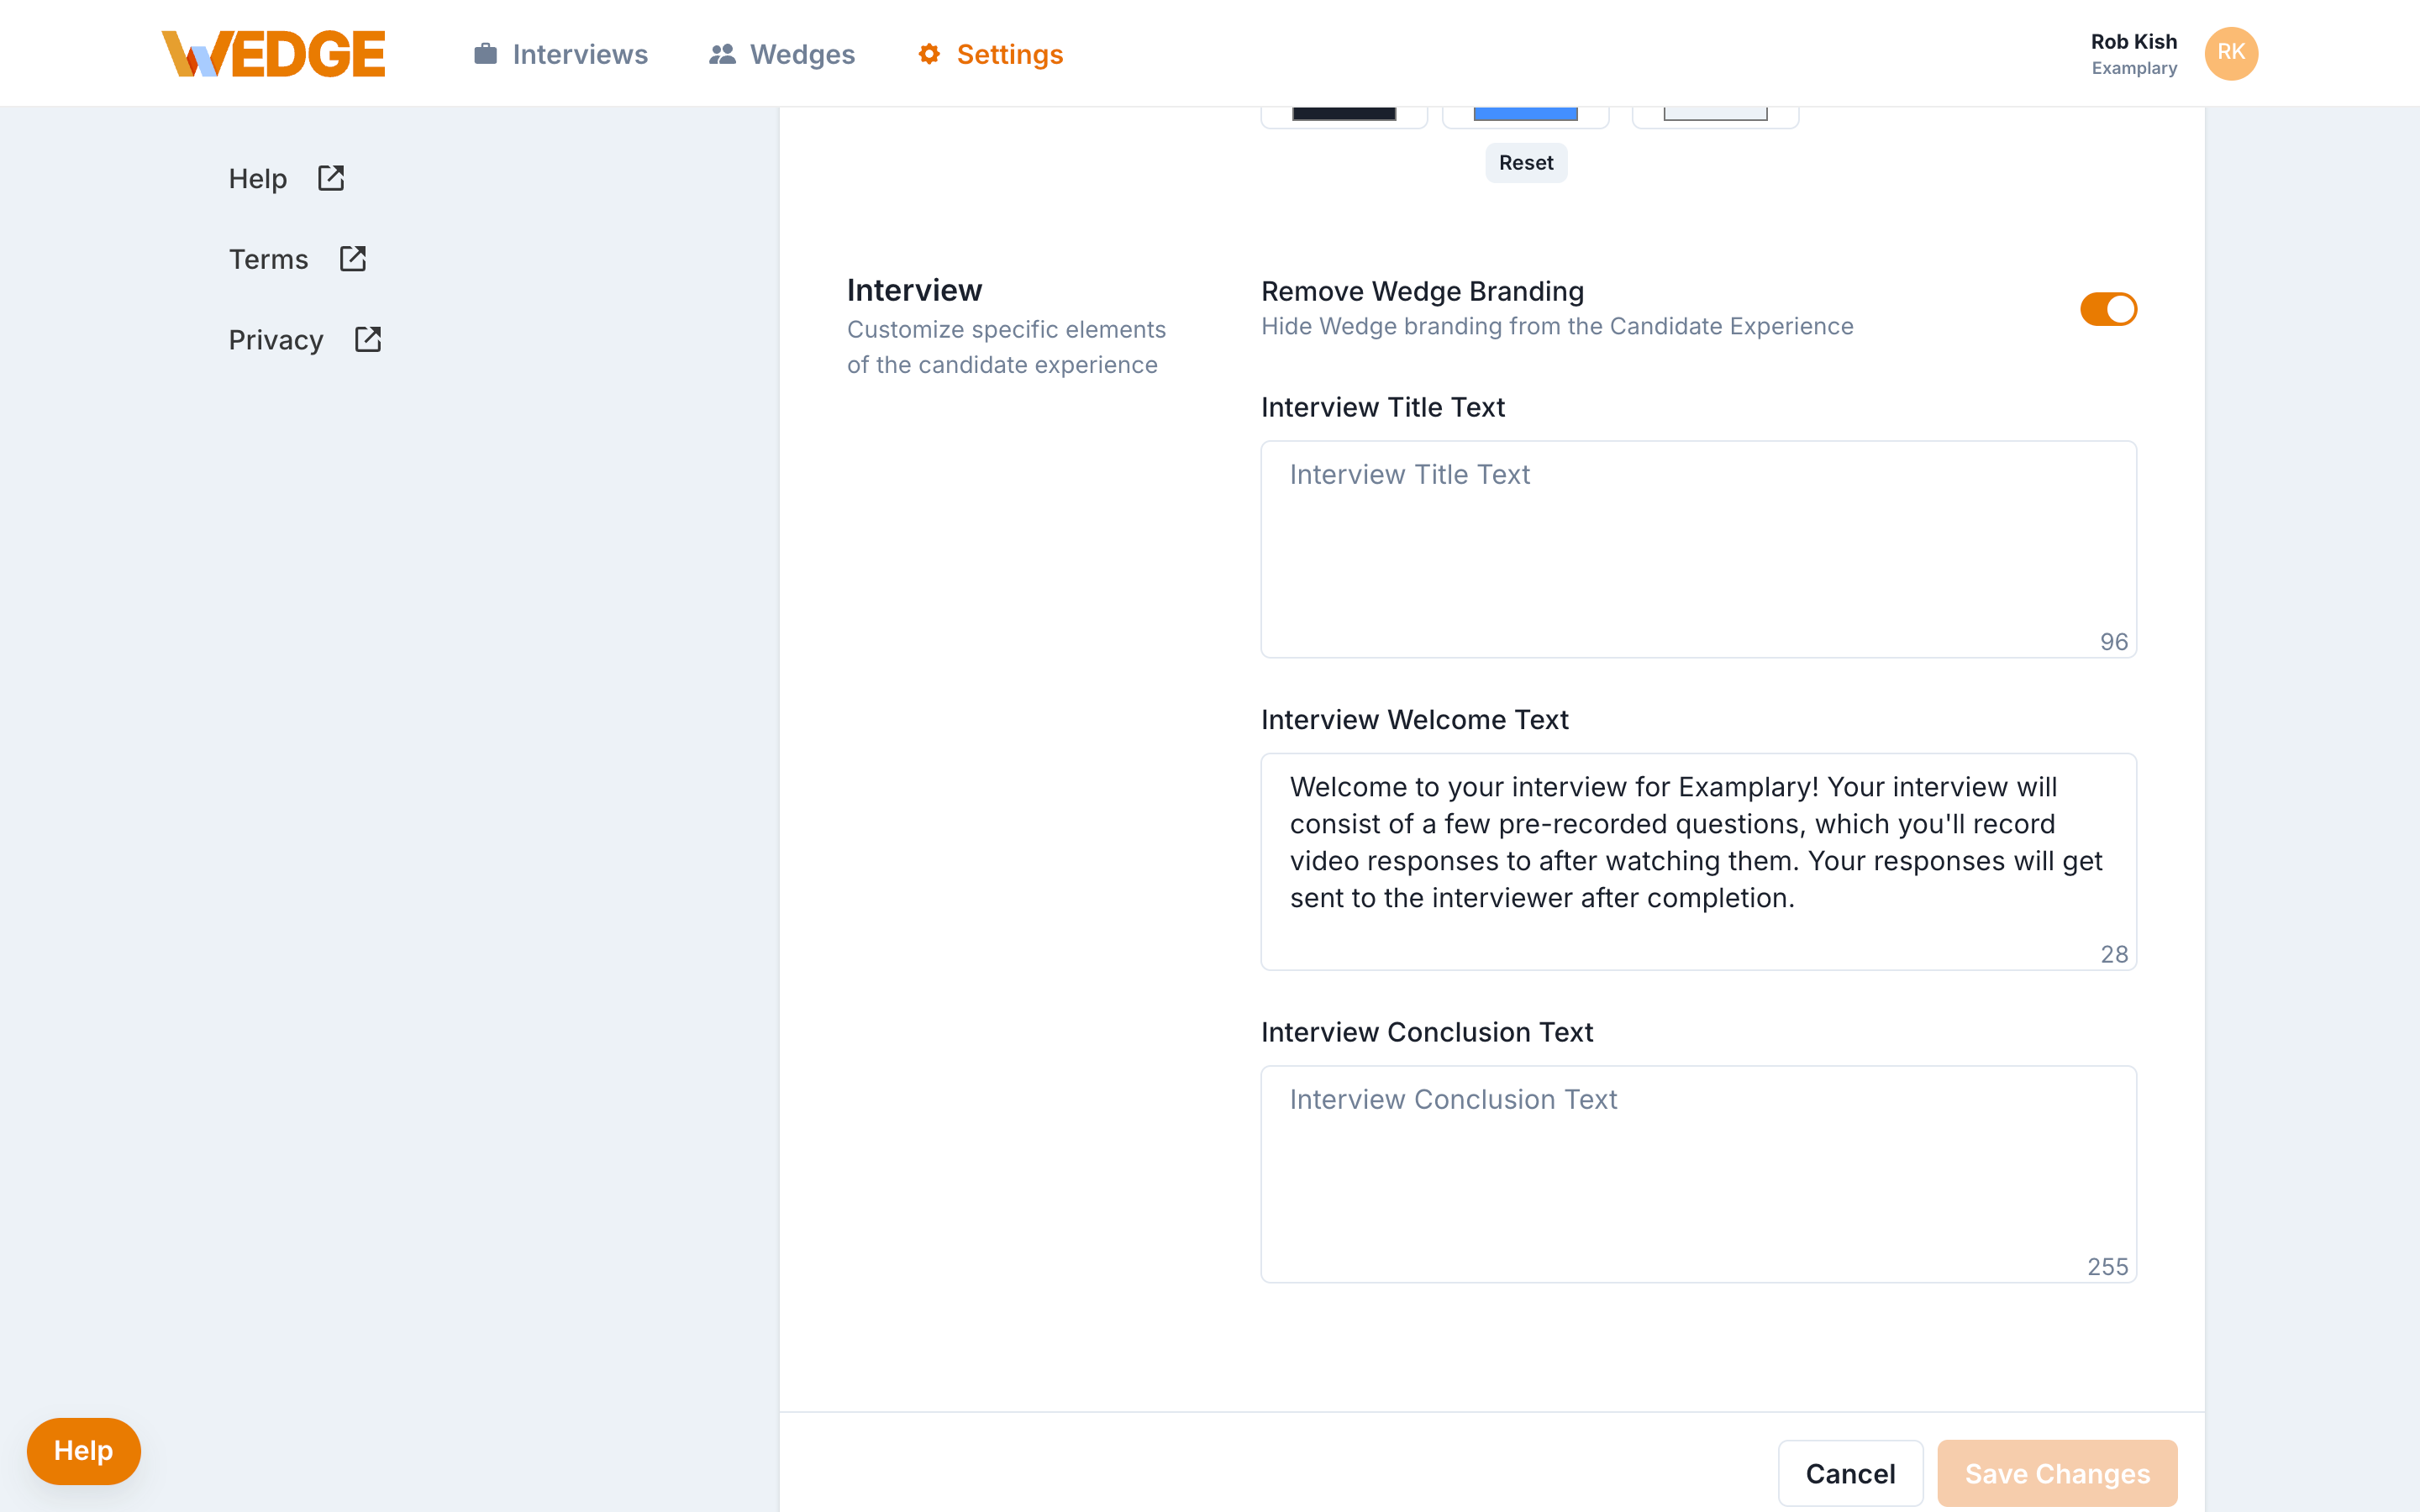
- Scroll down to the Interview section.
- Toggle Remove Wedge Branding on.
- Click Save Changes.
When this is on, candidates will only see your logo and branding throughout the interview.
Set up a custom domain
By default, interview links use record.interview.video . With a custom domain, you can replace this with your own branded subdomain, like yourcompany.interview.video .
- Go to Settings > Branding.
- Toggle Custom Domain on.
- Enter the name you want to use (just the part before
.interview.video). - Click Save Changes.
All future interview and Showcase links will use your new domain. Existing links will automatically redirect, so nothing breaks.
Don't see enhanced branding options? These features are available on Pro and Enterprise plans. Contact success@wedgehr.com to learn more.
Where your branding shows up
Your branding settings apply everywhere candidates and stakeholders interact with your interviews:
- Candidate interview screens. Logo, colors, fonts, and messages all appear when a candidate opens and completes their interview.
- Showcase links. When you share a Showcase link with a hiring manager or stakeholder, they see the same branding for a consistent, professional hand-off.
Changes take effect on all new interviews immediately. Existing interviews linked to the updated brand will also reflect the changes.
What's next?
- Set up multiple brands if your team hires under more than one company name or location.
- Create a Showcase link to share branded candidate videos with stakeholders.
- Build your first interview to see your branding in action.