
Create your first interview
Creating your first interview is the most important step in WedgeHR. This is where you set expectations for candidates, decide what you want to learn, and shape the experience people will have with your team.
Most great interviews use 3 to 5 questions and take candidates 10 to 15 minutes to complete.
You can refine everything later. Start with what feels right.
Start a new interview
From your WedgeHR dashboard, click + Add Interview.
Give your interview a clear title. Use the role name. "Barista," "Customer Service Rep," or "Warehouse Associate" all work well.
Add an introduction
Your introduction is where you build trust with candidates before they start recording. You can record a short intro video to introduce your company and role to the candidate.
A strong introduction answers three things:
- What is this interview for?
- How long will it take?
- What should the candidate expect?
Example intro text:
"Thanks for taking the time to interview with us. This should take about 10 to 15 minutes. You'll answer a few short questions about your experience, and you can complete it whenever works best for you."
That's enough. Keep it warm, keep it brief.
Tip: A personal intro video from the hiring manager can increase completion rates. Even 30 seconds of a real person saying "thanks for applying" makes a difference.
Add questions
You can:
- Select from the WedgeHR question library (150+ pre-recorded options)
- Write and record your own
- Mix both
What makes a good question
Focus on real situations. Ask what you'd normally ask in a first phone screen. Avoid questions candidates could look up and yes/no questions.
Good examples:
- "Tell us about a time you handled a difficult customer."
- "What interests you about this role?"
- "Walk us through a typical day in your last job."
Save time with playlists
If you hire for the same role more than once, save your questions as a playlist. You can reuse the same set across multiple interviews without rebuilding.
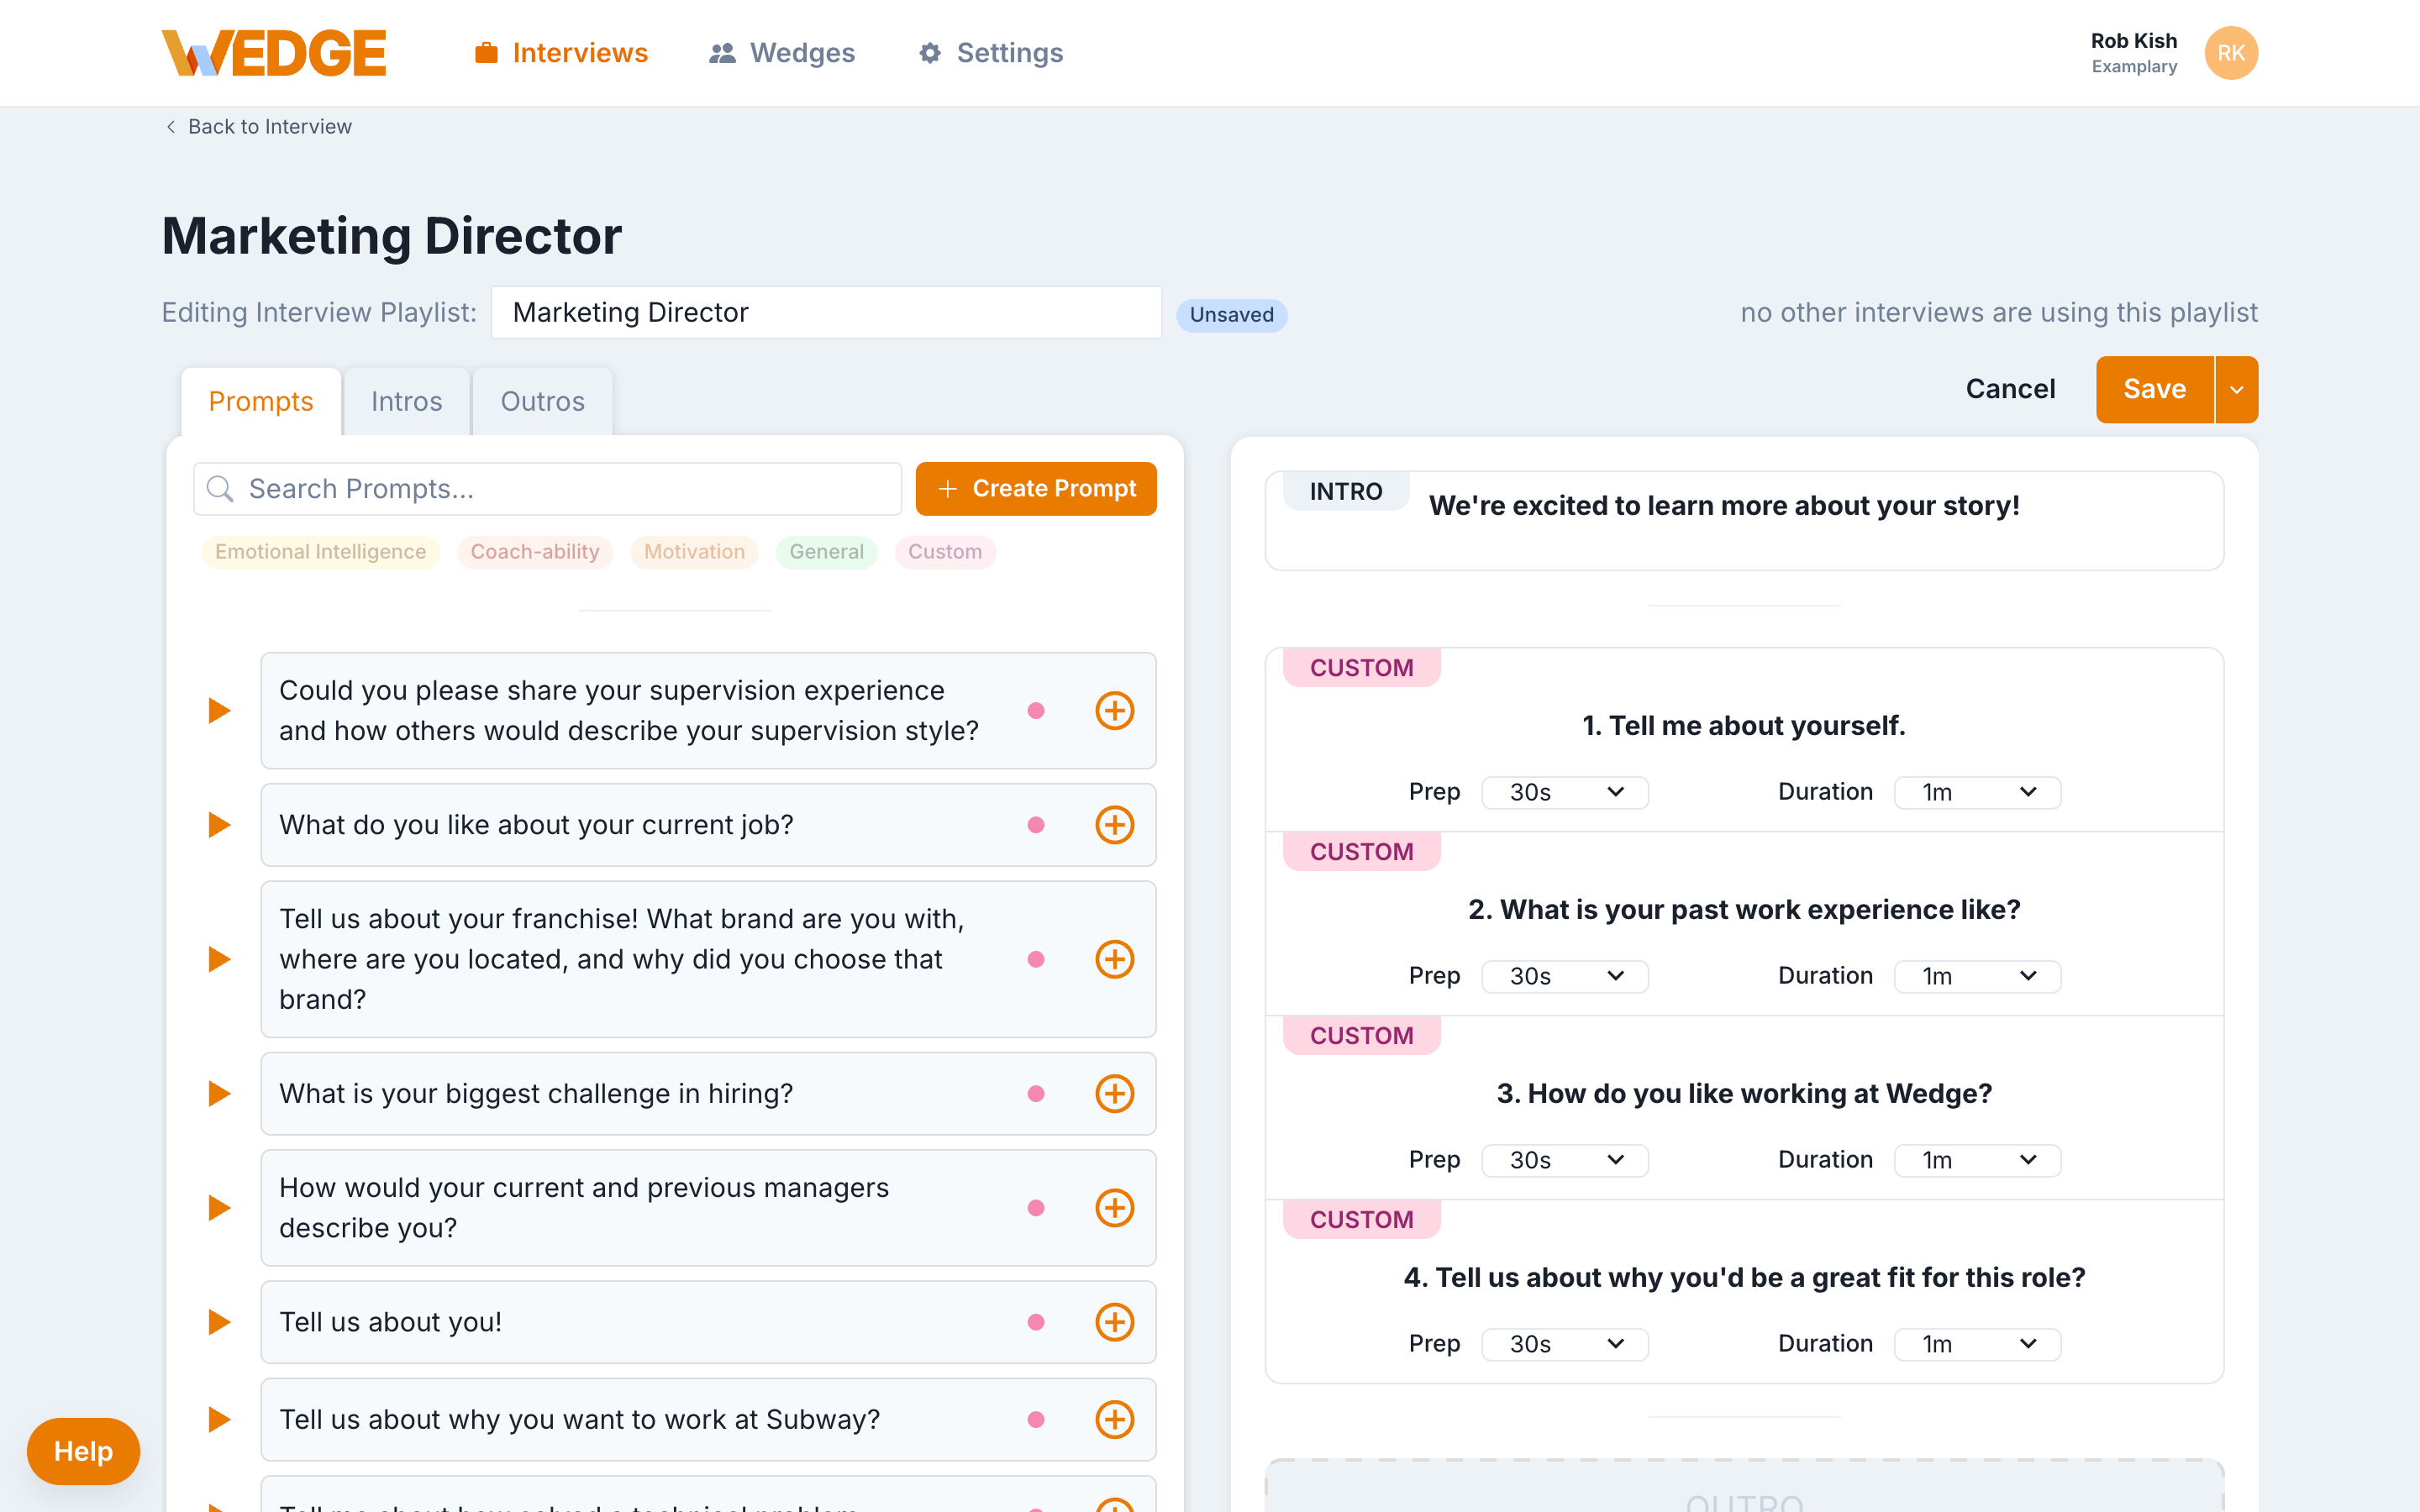
Set response rules
For each question, you control three things:
- Think time. How long candidates can prepare before recording starts.
- Response duration. The maximum recording time per question.
- Retakes. Whether candidates can re-record their answer.
Recommended starting settings
- Short or no think time
- 1 to 3 minute response limits
- Unlimited retakes allowed (configured in Interview Settings)
These settings help candidates feel prepared without overthinking. You're learning who they are, not testing them under pressure.
Add an outro
Your outro is the last thing candidates see after submitting. Use it to:
- Thank them for their time
- Let them know what happens next
- Reinforce your employer brand
Example outro text:
"Thanks for completing this interview. Our team will review responses soon and follow up with next steps."
A small touch that leaves a good impression.
Review and save
Before saving, do a quick scan:
- Are your questions clear and tied to real work?
- Does the interview feel like a reasonable time commitment?
- Does your intro video explain the role and set honest expectations about the process?
Once saved, your interview is live and ready to send. You can edit it anytime.
Common questions
How many questions should I use? Start with 3 to 5. You can adjust after seeing a few responses.
Can I edit an interview after publishing it? Yes. Changes apply to all candidates that have not recorded yet and future candidates as well. Responses already submitted are unaffected.
Should I use video or text for my questions? Either works. Video tends to increase completion, but a clear text question is just as effective for getting started.
What if I hire for this role again? Save your questions as a playlist. Next time, create a new interview and attach the same playlist. No rebuilding needed.
Ready for the next step?
Your interview is live. Now it's time to get it in front of candidates.